
Having a firm grasp of post-processing is the key to finding your unique style as a photographer. Making minor tweaks to colour and contrast or exploring Lightroom presets is a great place to start – it’ll help you add your personal touch to your photos and establish a post-processing routine that works best for you. Here are some of the most popular photo editing styles, how to achieve them, and a little surprise at the end:
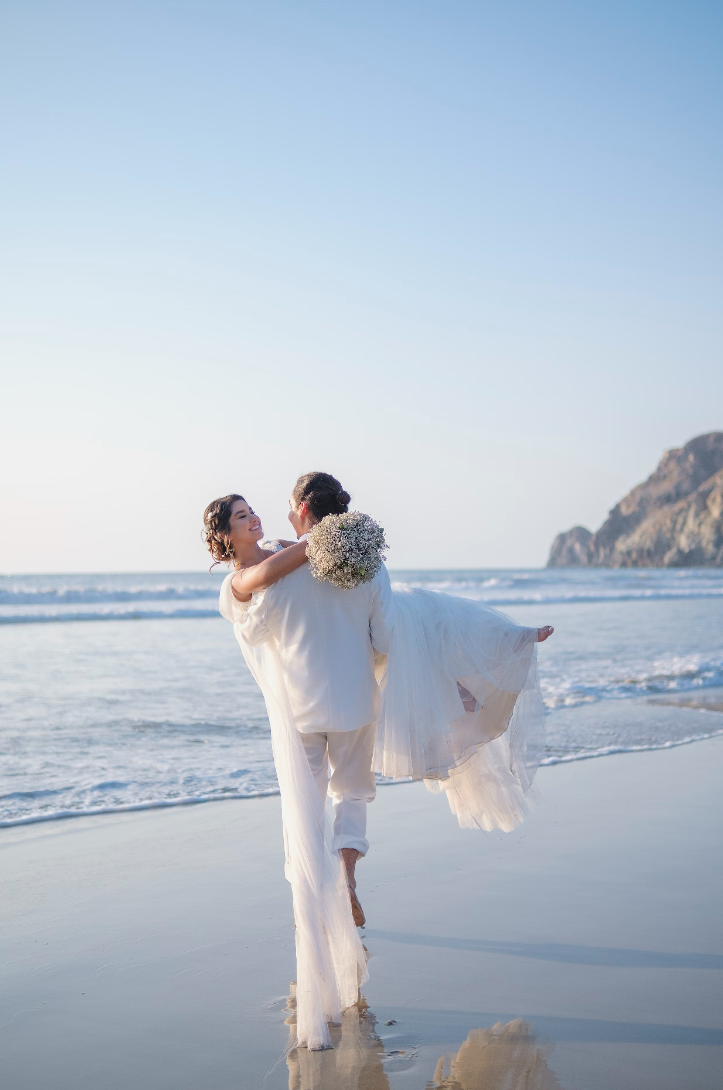
Light & Airy
You can give your photos a bright and softer look by lowering the contrast, increasing the exposure and using softer colour hues. This will make your pictures look a lot more dreamy, conveying a warm and romantic vibe.
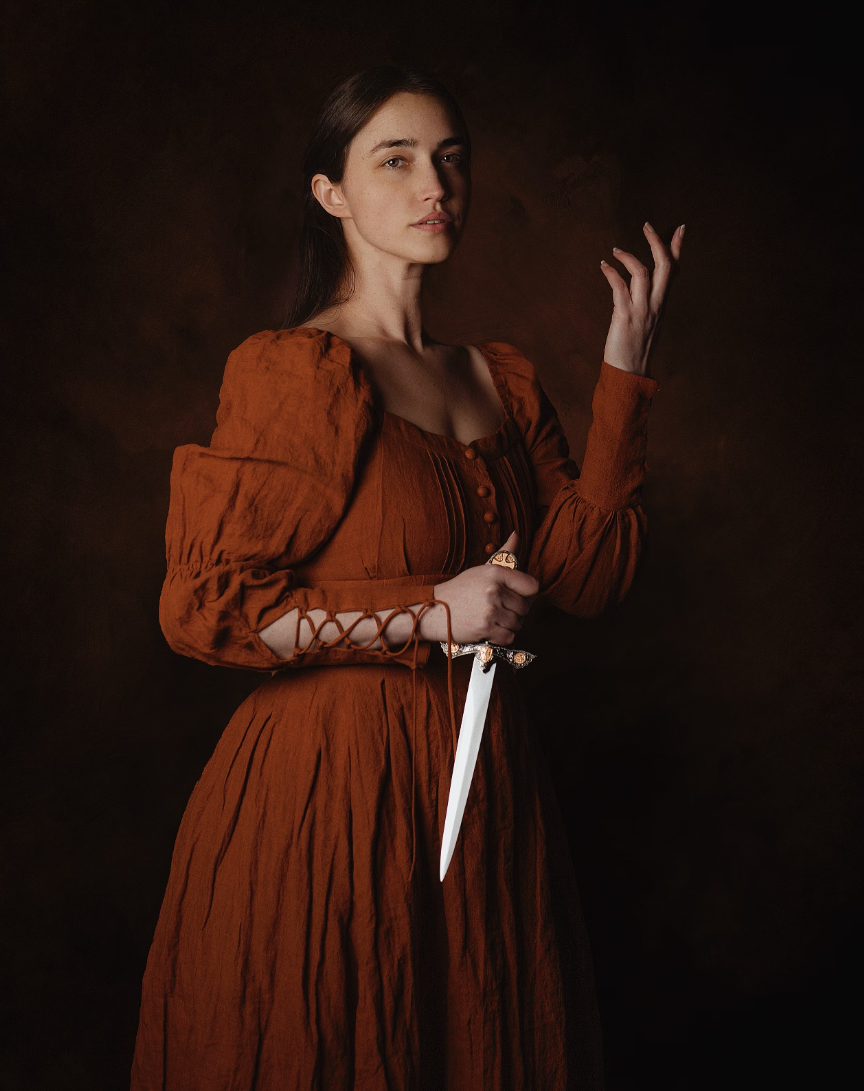
Dark & Moody
Light & Airy not your thing? If you want to add a touch of drama and melancholy to your photos instead, this editing style is perfect for you. By upping shadows and contrast, you can create a strong visual impact.
We also recommend controlling the light source, framing the subject in front of a dark background, and using props with darker shades. A studio with full natural light control is the perfect place to try this out. You can then apply this edit by boosting the subject’s brightness and bringing down the blacks and shadows in the background.
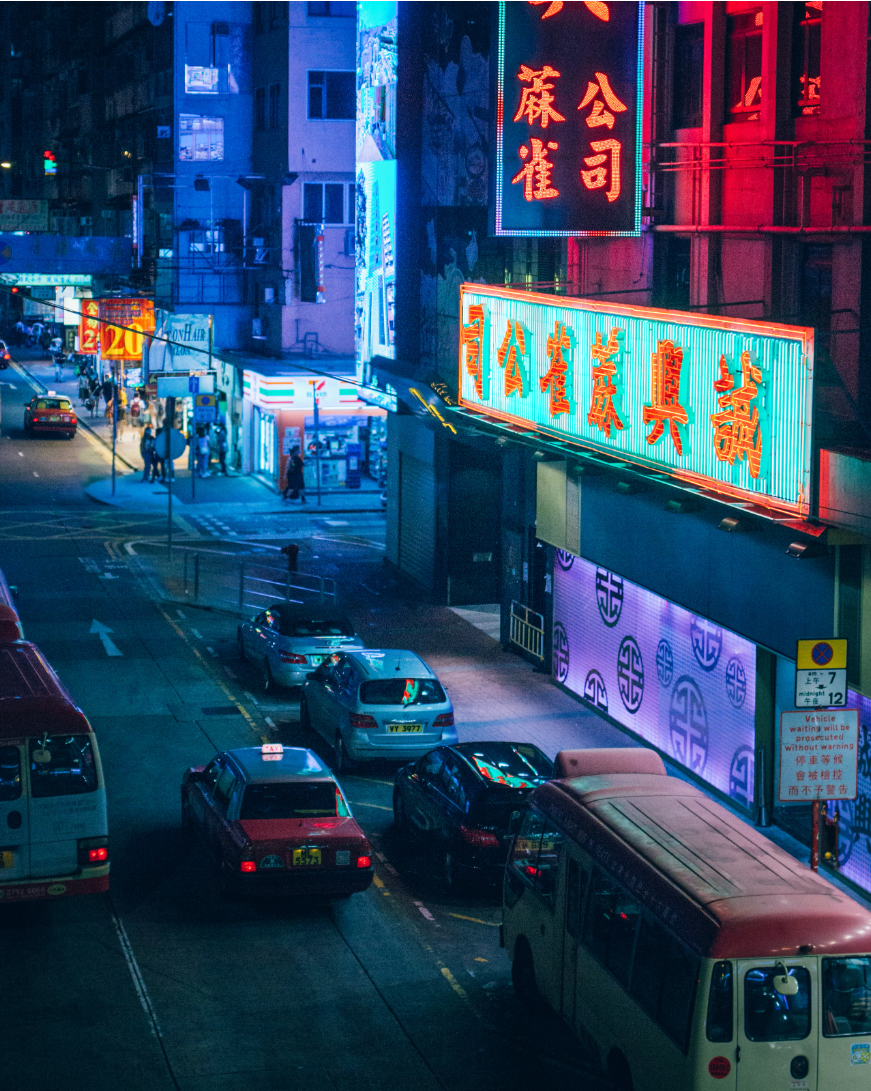
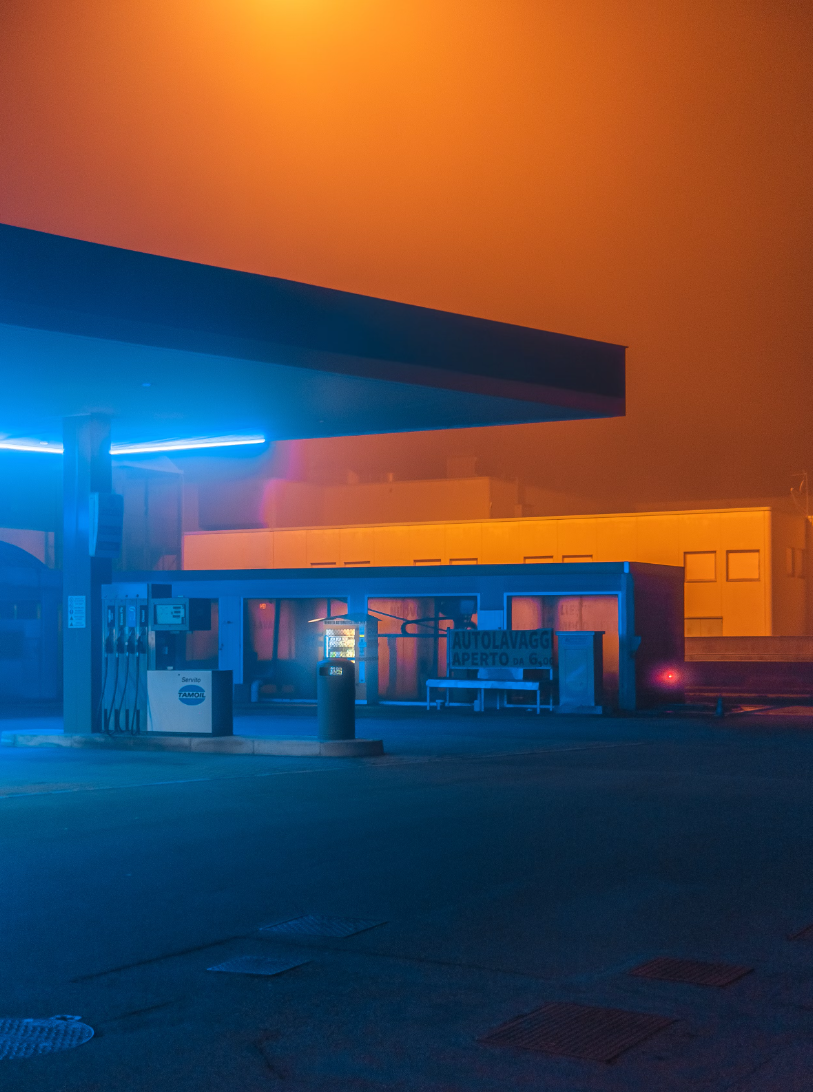
Cinematic
Have you ever noticed that movies like Blade Runner, Fight Club, and In the Mood for Love all use specific colours and lighting to create certain emotions and draw your attention to details? For example, in Blade Runner, pink and purple hues give off the feeling of ambiguity and extravagance, while the red in In the Mood for Love creates a sensual atmosphere of love and hate.
The same method can be applied to photography as well. Just reduce the blacks and clarity and create an ‘S’ curve on the light and RGB channels. Then, you can tweak it until you get the look you want. Get inspired by your favourite movie and experiment!

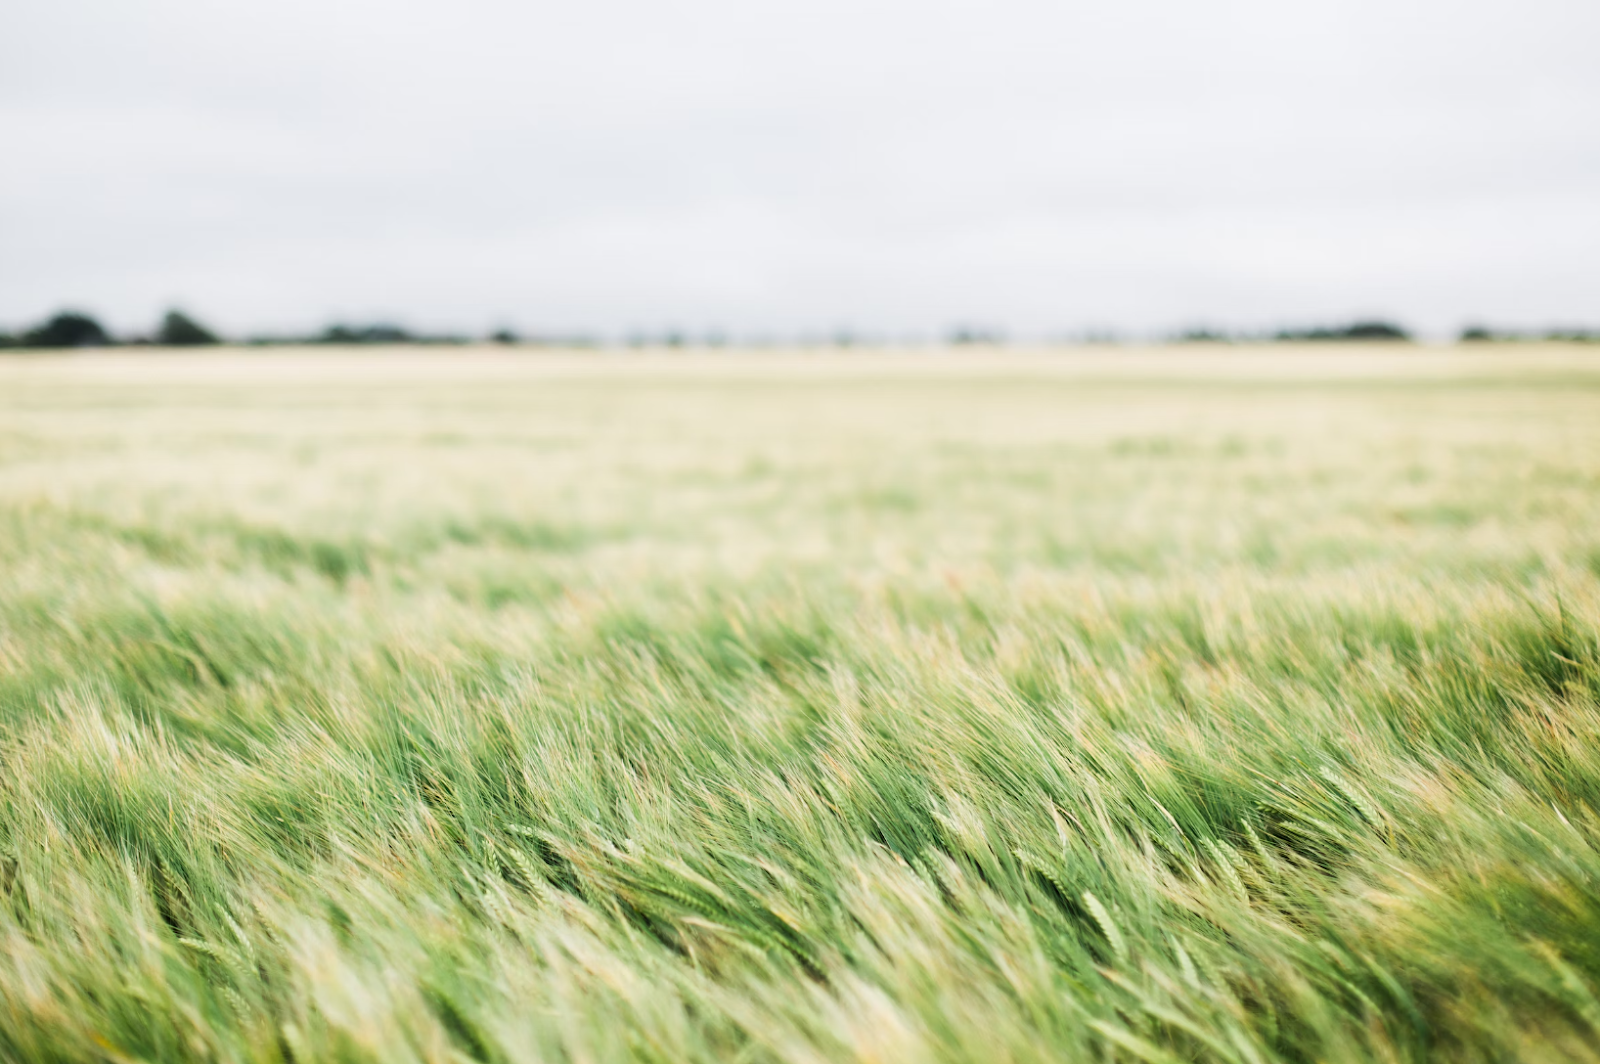
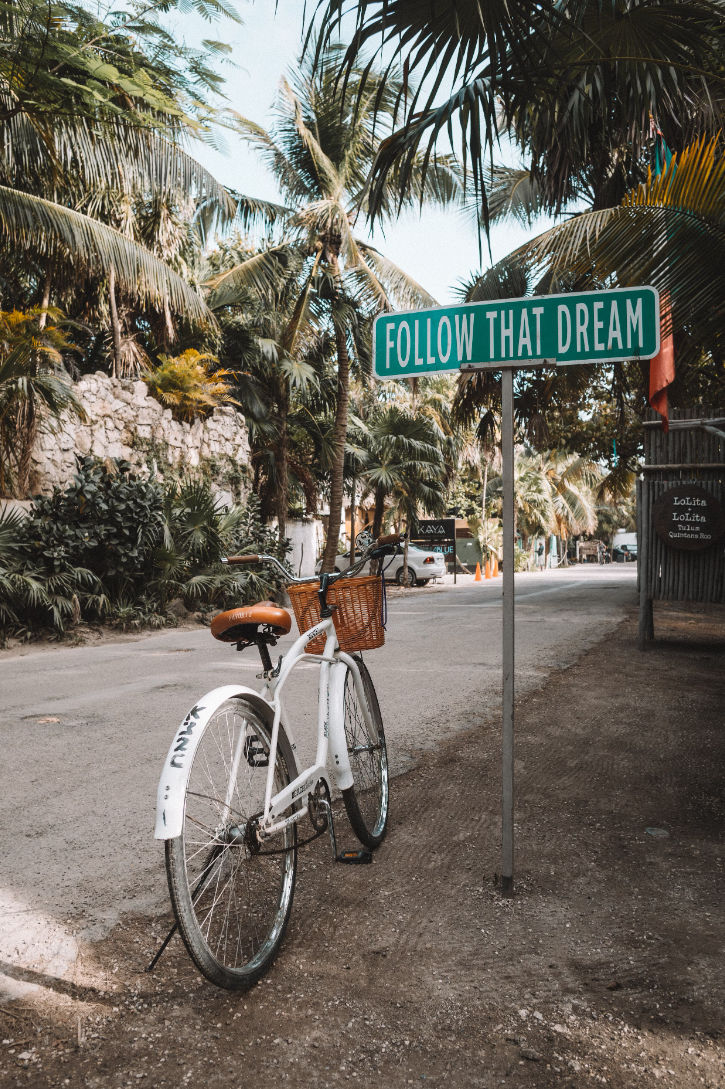
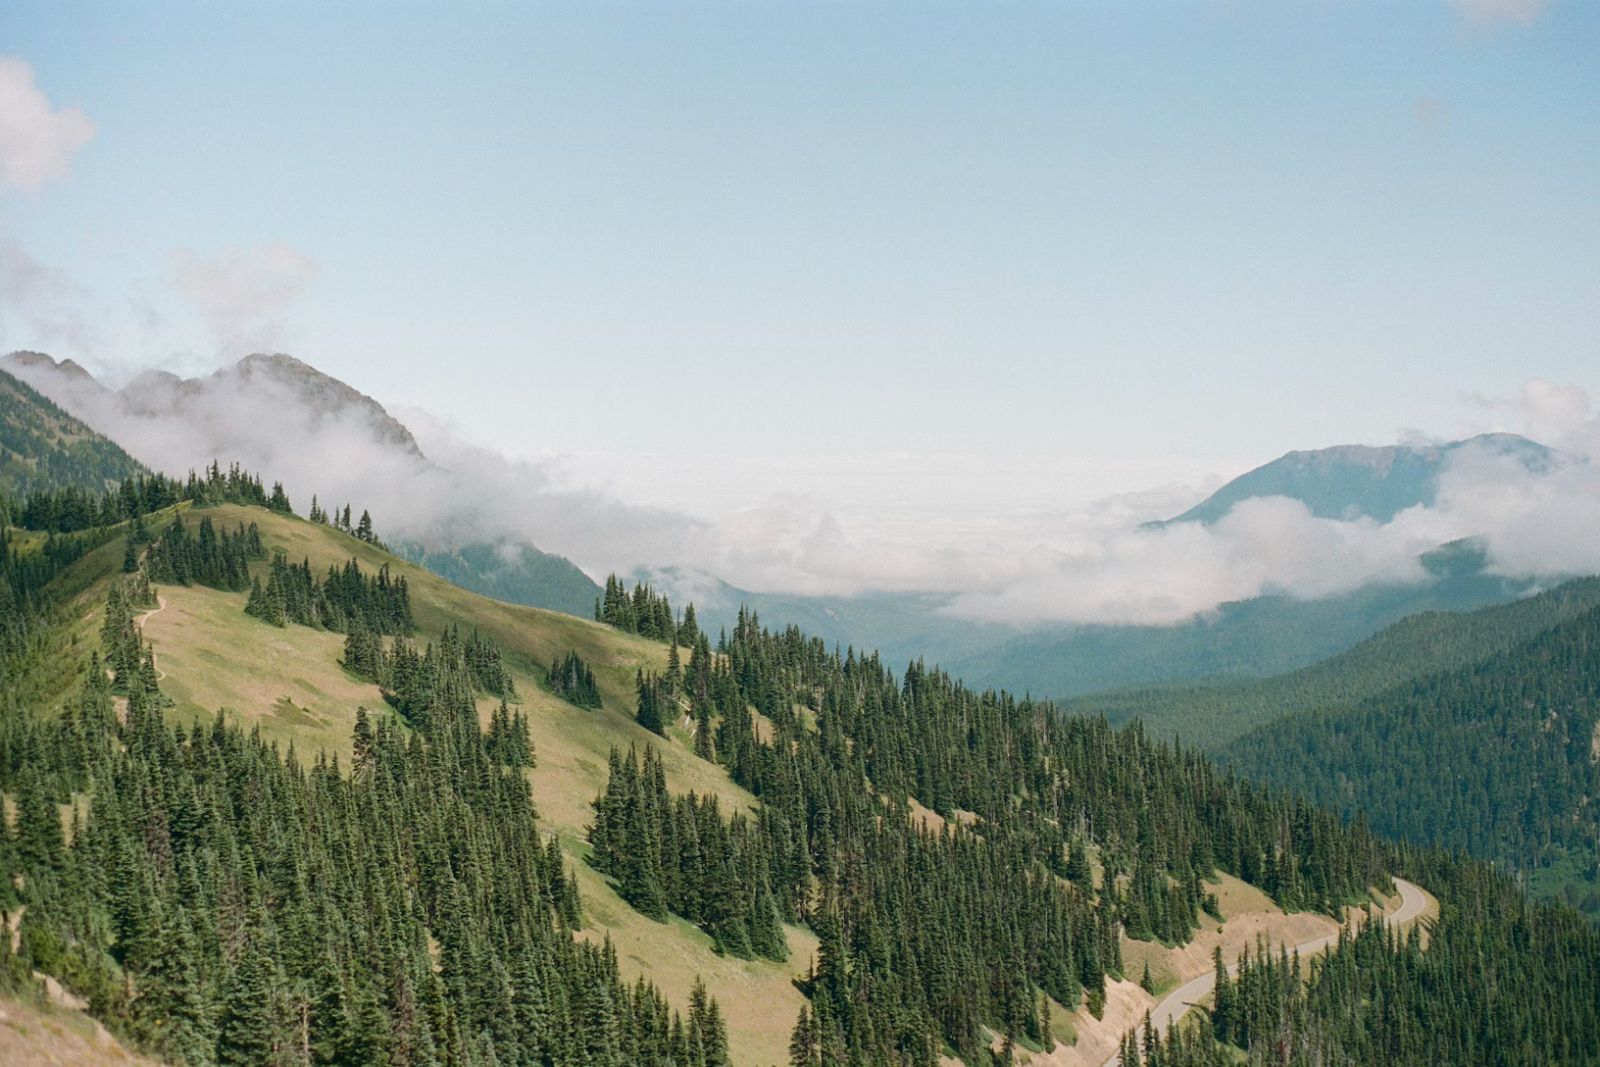
Earthy Travel
This editing style is great if you’re working with a wide range of colours. It subdues and saturates specific colours to bring out more details in your subject or landscape. You’ll often see cool colour combos like blue/orange and cyan/yellow, which can really make the blues in skies and lakes pop while complementing the orange/yellow hues found in sand, dirt, and stone. It’s super easy to achieve this look – just fiddle with the HSL (Hue, Saturation, Lightness) dials in your photo editing software until you get the look you want.


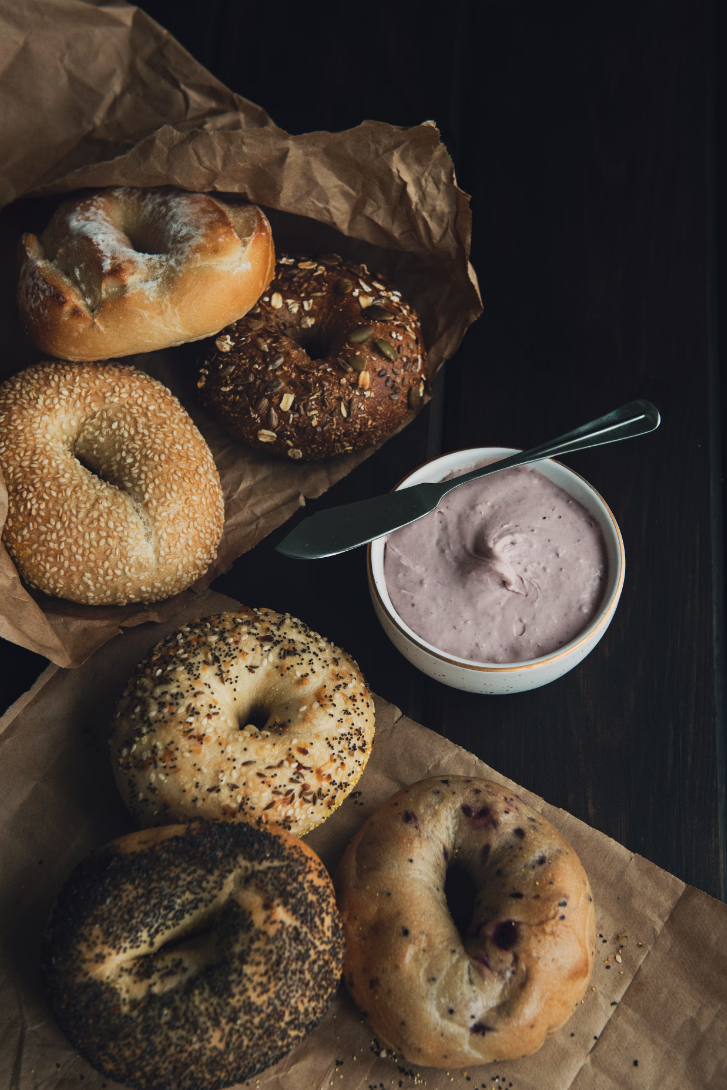
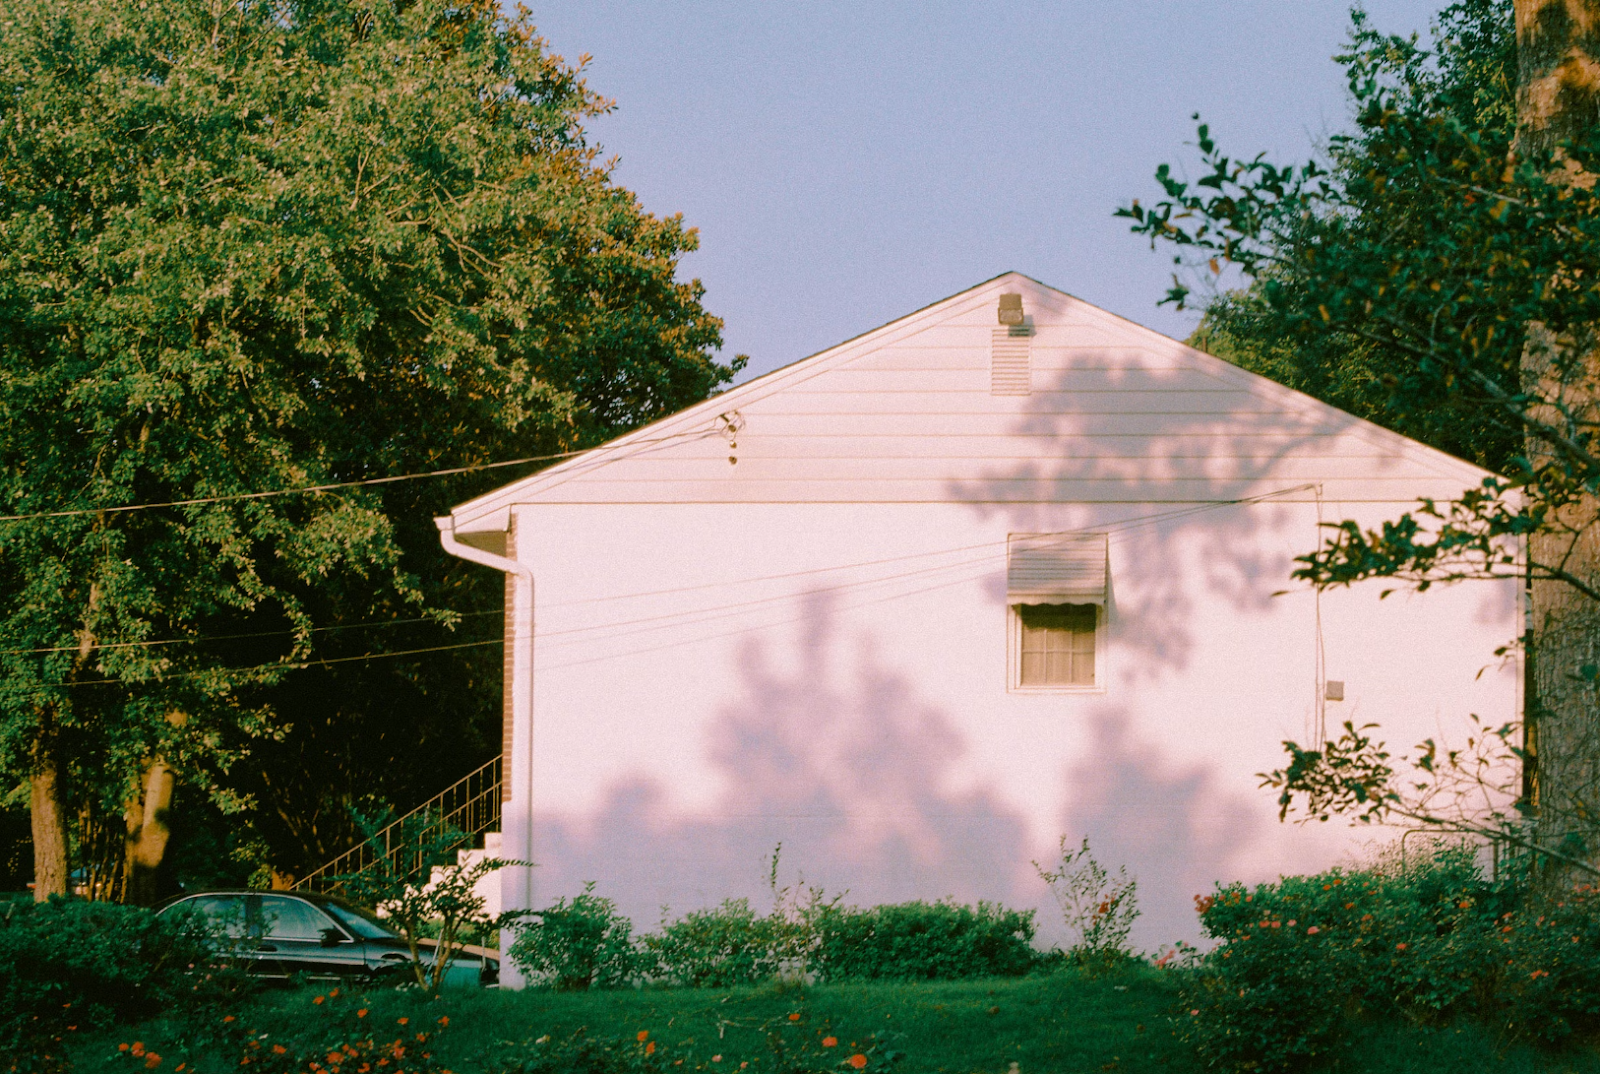
Film Look
Analog cameras are making a comeback. Their unique colour grading brings back a sense of nostalgia that many photographers are now replicating in digital photos. To achieve this look, choose a film stock you want to emulate, like the popular Kodak Gold, and apply the appropriate HSL manipulation and grain effect. Remember that most film stocks are typically overexposed, less contrasted, and have a slight green-blue tint in the shadows.

Start Experimenting
It’s always good to master the fundamentals like white balance, tone, and HSL first. Making tiny adjustments can do wonders for your photography.
Experimenting with presets is a great place to start. Here’s a Lightroom preset that we’ve made for you to experiment with: https://ftstudio.gumroad.com/l/xehwb. Presets can help you understand the ins and outs of Lightroom and the possibilities of each panel. Learn from photographers that you like and create presets that mimic their look.
Remember, the key is to keep experimenting and learning new things. But don’t go overboard with editing – sometimes, less is more when it comes to photo editing!


